
Executive Summary
Replacement window installation usually follows a straightforward process:
- Your windows are measured and custom ordered.
- Joyce confirms the installation details and schedules the project.
- You prepare the areas around the windows.
- The installation team removes the old windows one opening at a time.
- Each opening is inspected and prepared.
- The new windows are installed, insulated, sealed, and finished.
- The crew cleans the work areas and reviews the completed project with you.
The length of the installation depends on the number and style of windows, their locations, weather, access, and any damage found around the existing openings.
Homeowners can make installation day easier by moving furniture, removing window treatments, protecting fragile items, securing pets, and making sure the crew can reach the windows from inside and outside.
Planning to replace your windows? Use the Joyce Window Cost Calculator for a ballpark estimate or book a design consultation for exact measurements, recommendations, and pricing.
What Happens During a Replacement Window Project?
A replacement window project begins well before installation day.
Your Joyce consultation, measurements, product selections, custom manufacturing, scheduling, installation, and final walkthrough are all parts of the same process.
Because replacement windows are made to fit specific openings, accurate measurements and product decisions must be completed before manufacturing begins. Joyce offers custom-fit replacement windows in multiple styles, colors, glass packages, and design configurations.
Here is the typical sequence:
| Project Stage | What Happens | What the Homeowner Should Do |
|---|---|---|
| Consultation | The project, window styles, glass, colors, pricing, and installation needs are reviewed. | Identify comfort, appearance, operation, and budget priorities. |
| Final measurements | Window openings and project conditions are documented. | Make sure the installer can access every opening being measured. |
| Manufacturing | The selected windows are made for the project. | Avoid changing selections after the order is finalized. |
| Scheduling | Joyce confirms the installation date and project details. | Review preparation instructions and arrange to be available. |
| Installation | Existing windows are removed and new units are installed, insulated, sealed, and finished. | Keep work areas accessible and pets and children away. |
| Walkthrough | The completed windows are reviewed with the homeowner. | Test operation and ask questions about care and warranty service. |
Step 1: Your Window Design Consultation
The first step is identifying what you want the new windows to accomplish.
Homeowners often replace windows because the existing units are:
- Drafty
- Difficult to open or close
- Damaged or deteriorated
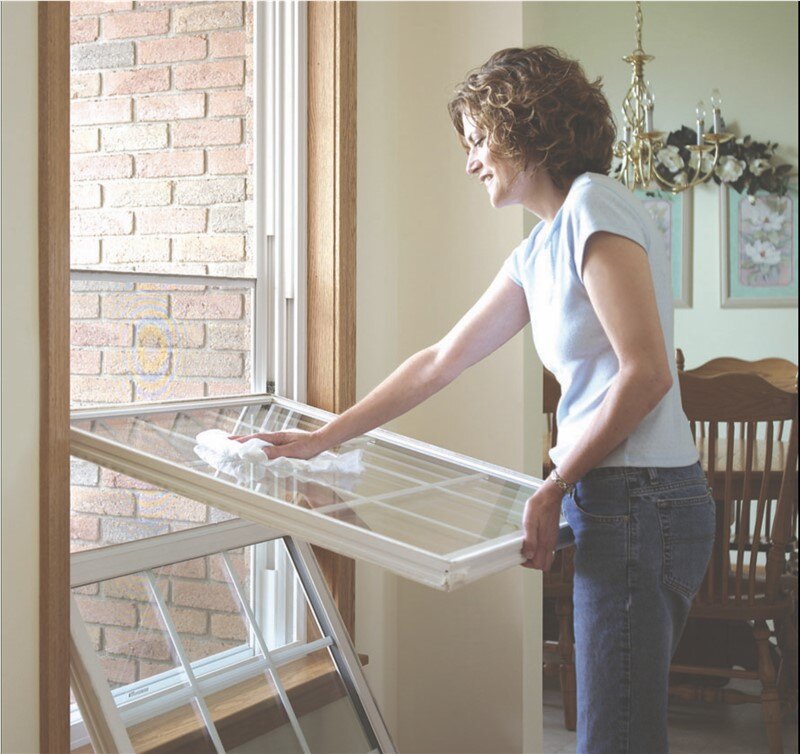
- Hard to clean
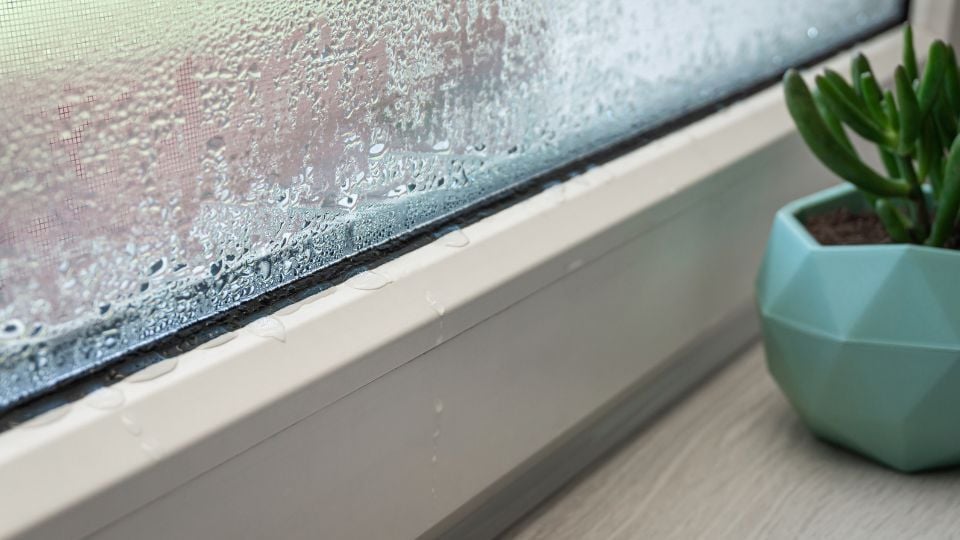
- Fogged between the glass
- No longer sealing properly
- Outdated in appearance
- Poorly suited to the room
During a Joyce window consultation, a representative can review the existing windows, discuss your concerns, show available product options, and explain how different choices affect performance, appearance, maintenance, and price.
You may compare:
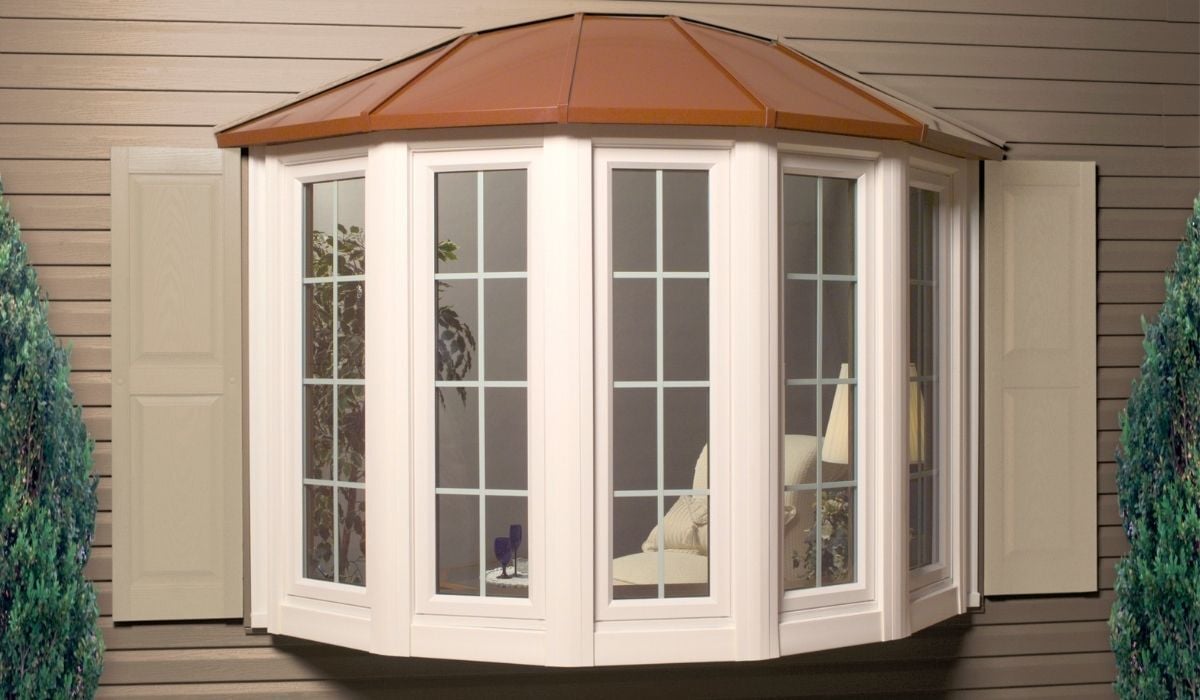
- Double-hung, sliding, casement, picture, bay, bow, and specialty styles
- Interior and exterior colors
- Grid patterns
- Hardware
- Glass packages
- Ventilation needs
- Cleaning and operation
- Energy-performance goals
- Project financing
Joyce also offers an online Window Cost Calculator that provides a ballpark range based on the number, size, style, glass package, colors, grids, and installation needs. Exact pricing requires project-specific measurements and recommendations.
Step 2: Your Windows Are Measured and Ordered
Replacement windows must fit the existing openings correctly.
Measurements may include the opening’s width, height, depth, sill condition, interior trim, exterior materials, and nearby obstacles.
The person measuring may also document:
- Window style and operation
- Wall construction
- Exterior siding, brick, stone, or trim
- Interior casing
- Access limitations
- Second-story locations
- Air-conditioning units
- Alarm sensors
- Water damage or visible deterioration
- Special installation requirements
Once the measurements and selections are approved, Joyce can place the custom order.
Changes made after manufacturing begins may affect materials, scheduling, or price. Review the window style, color, glass, grids, hardware, and opening direction carefully before final approval.
Step 3: Joyce Schedules the Installation
Installation is scheduled after the windows are ready and the project can be coordinated with the installation team.
The exact timeline varies. It may be influenced by:
- The number of windows
- Product availability
- Custom shapes or colors
- Crew scheduling
- Weather
- Permit requirements
- Site access
- Other project-specific conditions
Before installation, confirm:
- The installation date
- The expected arrival window
- Which windows are included
- Whether anyone must be home
- Where the crew may park
- Which doors the crew should use
- Whether special access is needed
- How pets, alarms, and security systems should be handled
Keep Joyce informed about scheduling conflicts or property-access restrictions before the installation date.

How Should You Prepare for Window Installation?
A few simple preparations can help the crew work safely and efficiently.
Clear the space around each window
Move furniture, lamps, plants, electronics, and other belongings away from the interior work area.
The amount of clearance needed can vary by project. Follow any instructions provided by the installation team.
Remove window treatments
Take down:
- Curtains
- Drapes
- Blinds
- Shades
- Valances
- Removable curtain rods
Ask Joyce whether permanently mounted hardware should remain in place.
Remove fragile wall decorations
Window removal and installation can create vibration.
Take down fragile items near the work area, including:
- Pictures
- Mirrors
- Shelves
- Decorative plates
- Collectibles
- Wall-mounted electronics
Consider removing delicate items from the opposite side of the same wall as well.
Make the exterior accessible
The crew may need access to the outside of each window.
Move or identify:
- Patio furniture
- Grills
- Planters
- Garden decorations
- Hoses
- Toys
- Vehicles
- Low branches
- Other obstacles
Do not move heavy or hazardous objects unless it is safe to do so. Ask Joyce which areas need to be cleared.
Secure children and pets
Window openings, tools, materials, ladders, and moving glass create temporary hazards.
Keep children and pets away from active work areas. Consider using a closed room, pet gate, crate, daycare arrangement, or another safe plan.
Tell the crew about animals in the home, even if they are normally calm.
Plan for temperature changes
A window opening will be temporarily exposed while the old unit is removed and the new one is installed.
The crew generally works one opening at a time to limit exposure, but rooms may still feel warmer or colder during the project.
Adjust your thermostat reasonably and keep interior doors closed where practical.
Protect sensitive electronics
Cover or move computers, televisions, speakers, and other sensitive equipment located near the windows.
Although installers normally use protective coverings and clean the area, window removal can create dust and small debris.
Discuss alarms and window sensors
If your windows are connected to a home-security system, contact the alarm provider before installation.
Ask whether sensors must be removed, bypassed, replaced, or reinstalled. Confirm who is responsible for that work.
What Happens on Installation Day?
When the crew arrives, the lead installer should review the project before work begins.
This may include confirming:
- The windows being replaced
- Product styles and opening directions
- Interior and exterior access
- Furniture or belongings that still need protection
- Alarm sensors
- Pet arrangements
- Areas that require special care
- Questions about the project
The crew may then bring in protective coverings, tools, and the first windows needed for installation.
Step 4: The Existing Windows Are Removed
The installers remove the old window carefully while working to limit damage to the surrounding area.
The exact removal method depends on:
- The existing window material
- Window style
- Age and condition
- Interior trim
- Exterior cladding
- Opening construction
- The selected installation method
Components that may be removed include:
- Sashes
- Glass
- Screens
- Stops
- Fasteners
- Portions of the old frame
- Caulk or sealant
- Exterior trim or wrapping
Not every project requires removing every part of the original frame. The appropriate method depends on the condition of the opening and the type of replacement being installed.
Avoid describing every replacement as a “full-frame installation” unless that is the actual contracted method.
Step 5: The Opening Is Inspected
Once the old window is removed, the installer can see parts of the opening that were previously hidden.
The crew may inspect for:
- Rot
- Water staining
- Soft wood
- Insect damage
- Mold-like discoloration
- Missing insulation
- Air gaps
- Damaged framing
- Uneven surfaces
- Deteriorated sill material
- Previous installation problems
This inspection is important because a new window should not simply cover an unresolved structural or moisture problem.
Some minor preparation may be included in the installation. More extensive damage may require additional work, materials, approval, or scheduling.
Homeowners should be informed when unexpected conditions affect the agreed scope or price.
Step 6: The Opening Is Prepared
Before the new window is set in place, the crew prepares the opening according to the installation method and existing conditions.
Preparation may include:
- Removing loose materials
- Cleaning the opening
- Correcting minor surface irregularities
- Adding or adjusting insulation
- Preparing the sill
- Installing flashing or water-management materials where required
- Confirming that the opening is ready for the new unit
ENERGY STAR notes that a window replacement project is an appropriate time to address gaps and air leakage behind window and door trim. Proper sealing around the opening supports comfort and energy performance.
The required materials and techniques depend on the wall, window, climate, and installation conditions.
Step 7: The New Window Is Set and Secured
The installer places the replacement window into the prepared opening.
Before securing it permanently, the crew checks that it is:
- Level
- Plumb
- Square
- Positioned at the correct depth
- Properly supported
- Able to open and close correctly
A window that is not square may bind, fail to lock correctly, or place unnecessary stress on the frame and hardware.
The unit is then fastened according to the required installation method.
Installers may check operation more than once as the unit is secured.
Step 8: The Window Is Insulated and Sealed
The space between the new window and the surrounding opening must be addressed carefully.
Depending on the installation, the crew may use compatible insulation, backer material, sealant, flashing, trim, or a combination of products.
The goals are to help:
- Limit uncontrolled air leakage
- Manage water around the opening
- Support indoor comfort
- Protect the surrounding construction
- Create a clean interior and exterior finish
ENERGY STAR advises homeowners that air gaps around windows can affect comfort and efficiency. It also recommends sealing gaps where conditioned air can escape.
Do not rely on visible caulk alone as proof of a complete installation. The installation method, hidden insulation, fastening, flashing, water management, and finishing all matter.
Step 9: Interior and Exterior Finishing Is Completed
After the window is secured and sealed, the crew completes the contracted finishing work.
That may include:
- Reinstalling or replacing interior stops
- Installing interior trim
- Applying interior sealant
- Installing exterior trim or cladding
- Sealing exterior joints
- Cleaning the glass and frame
- Reinstalling screens
- Removing labels as appropriate
The exact finish depends on the contract and existing home.
Ask before installation whether the project includes:
- Interior trim replacement
- Exterior capping or wrapping
- Painting
- Staining
- Drywall repair
- Sill repair
- Alarm-sensor work
- Blind or curtain reinstallation
Do not assume those services are included unless they appear in the written scope.
How Long Does Window Installation Take?
There is no universal installation time.
A simple, accessible first-floor window may require less time than a bay window, custom shape, second-story opening, or window surrounded by damaged materials.
The schedule can be affected by:
- Number of windows
- Window sizes and styles
- Interior and exterior access
- Installation method
- Crew size
- Weather
- Exterior materials
- Trim requirements
- Unexpected damage
- Site conditions
A multi-window project may take one day or require multiple days. Joyce should provide project-specific scheduling guidance before installation.
Avoid relying on broad claims such as “every window takes 30 minutes” because they may not reflect the actual property or scope.
Will Window Installation Make a Mess?
Some dust, old sealant, paint chips, insulation, and small debris are normal during window replacement.
A professional crew should take reasonable steps to protect the home and clean the immediate work areas.
That may include:
- Drop cloths or floor protection
- Organized tool and material areas
- Removal of old windows
- Collection of loose debris
- Vacuuming or sweeping
- Cleaning the new windows
- A final exterior check
Homeowners should still expect a construction project rather than a completely dust-free process.
Tell the crew before work begins about delicate flooring, valuable furniture, landscaping, or other areas requiring special protection.
Do You Need to Be Home During Installation?
Joyce should confirm its current policy when scheduling the project.
Even when a homeowner is not required to remain beside the crew, an adult may need to be available to:
- Provide access
- Answer questions
- Approve unexpected work
- Discuss hidden damage
- Secure pets
- Review the final installation
- Sign project documents
Do not leave without confirming access, contact information, security arrangements, and the final walkthrough plan.
What Happens During the Final Walkthrough?
After installation and cleanup, the homeowner should have an opportunity to review the completed project.
During the walkthrough, ask the installer to show you how to:
- Open and close each window
- Lock and unlock it
- Tilt or remove sashes where applicable
- Operate screens
- Use ventilation positions, if available
- Clean the frame and glass
- Identify drainage openings
- Report a future service concern
Check that:
- Windows open and close smoothly
- Locks engage correctly
- Screens are installed and undamaged
- Glass is clean enough to inspect
- Interior and exterior finishes appear complete
- Debris has been removed
- The work matches the written scope
Report concerns before the crew leaves when possible.
What Should You Check After Installation?
Over the next several days, operate each window again.
Look for:
- Smooth movement
- Secure locking
- Complete seal contact
- Loose hardware
- Damaged screens
- Missing trim or sealant
- Unusual drafts
- Water entering during rain
- New wall or trim damage
Some new materials may feel tighter at first, but windows should still operate as designed.
Contact Joyce Customer Service if you notice a problem rather than attempting a repair that could affect the window or warranty. Joyce provides a dedicated customer-service channel for homeowners who need assistance after installation.
How Should You Care for New Windows?
Follow the product-specific care guidance provided by Joyce.
General care may include:
- Cleaning glass with a suitable nonabrasive cleaner
- Cleaning vinyl frames with mild soap and water
- Keeping tracks free of dirt
- Checking that drainage openings remain clear
- Avoiding sharp tools or harsh chemicals
- Operating the windows periodically
- Inspecting exterior sealant over time
- Reporting operation problems before they become worse
Do not paint vinyl frames unless the manufacturer specifically permits it.
Do not drill into the frame or add aftermarket products without confirming that they will not damage the window or affect warranty coverage.
Common Window Installation Questions to Ask Before Signing
Before approving a window project, ask:
- Is this a replacement-frame or full-frame installation?
- Which parts of the existing window will remain?
- How will gaps around the new window be insulated?
- How will the exterior be sealed and finished?
- Is interior trim included?
- Is painting or staining included?
- What happens if hidden damage is found?
- Who removes the old windows?
- Who handles blinds, curtains, and alarm sensors?
- How long is this specific project expected to take?
- Who completes the installation?
- What warranty covers the window and labor?
- Who should I contact if I notice a problem afterward?
Clear answers help prevent surprises and make it easier to compare competing quotes.
Why Professional Window Installation Matters
A replacement window is part of the home’s exterior enclosure.
Its performance depends on more than the glass and frame. Measurements, fastening, insulation, sealing, water management, and finishing all affect the completed opening.
ENERGY STAR advises homeowners to consider installation quality when purchasing energy-efficient windows and to seal gaps around the home where air can leak.
Professional installation can help ensure that the selected window:
- Fits the opening
- Opens and closes correctly
- Locks securely
- Is insulated around the frame
- Is sealed against air and water
- Has a finished interior and exterior appearance
- Is installed according to the project requirements
Even a high-performing window may not deliver the intended comfort if it is poorly measured or installed.
Why Choose Joyce for Replacement Window Installation?
Joyce Windows, Sunrooms & Baths offers custom replacement windows with professional installation.
Joyce’s factory-direct process keeps product selection, custom sizing, manufacturing, installation guidance, and service connected through one company. Current window options include insulated-glass packages, multiple window styles, custom colors, grids, and energy-efficiency features.
Joyce serves homeowners in supported areas of Ohio, Pennsylvania, North Carolina, and South Carolina and has operated as a family-owned home improvement company since 1955.
Homeowners can:
- Use the Window Cost Calculator for a ballpark estimate
- Book an in-home design consultation
- Compare window styles and glass packages
- Review financing options
- Receive custom measurements
- Ask questions about installation and warranty coverage
Get an Instant Window Cost Estimate
Use the Joyce Window Cost Calculator to receive a realistic ballpark range based on your project selections.
Meet with a Joyce window specialist to discuss your current windows, comfort concerns, design preferences, installation needs, and exact project pricing.

Frequently Asked Questions
How long does replacement window installation take?
The timeline depends on the number and style of windows, access, crew size, weather, finishing requirements, and whether hidden damage is discovered. Joyce should provide a project-specific estimate before installation.
Do I need to remove blinds and curtains?
Homeowners should generally remove curtains, blinds, shades, and other window treatments before installation unless Joyce provides different instructions. Confirm whether permanently attached hardware should remain.
Will the installers work inside my house?
Yes. Replacement window installation commonly requires both interior and exterior access.
Do I need to move furniture?
Yes. Clear furniture and belongings away from each window so the crew has a safe work area. Follow the clearance instructions provided before installation.
Will my house be open to the weather?
Each opening is temporarily exposed after the old window is removed. Installers generally work on one opening at a time to limit exposure, but the room may briefly feel warmer or colder.
What happens if the installer finds rot?
The crew should document the condition, explain the recommended correction, and tell the homeowner whether it changes the scope, price, or schedule. The response depends on the location and severity of the damage.
Does window installation include new trim?
It depends on the written contract. Some projects include interior or exterior trim work, while others retain existing materials. Confirm what is included before approving the project.
Do installers clean up after replacing windows?
Professional installation should include removal of project debris and reasonable cleaning of the immediate work areas. Confirm whether the contract includes old-window disposal and specific finishing work.
Can windows be installed during winter?
Replacement windows can often be installed during colder weather. Crews typically work one opening at a time to limit exposure. Severe weather, unsafe conditions, or product requirements may affect scheduling.
Will new windows eliminate every draft?
Properly selected and installed windows can help reduce air leakage associated with old or poorly sealed windows. Drafts can also come from walls, doors, attics, outlets, and other parts of the home, so no responsible contractor should promise that windows alone will eliminate every air leak.
Should I inspect the windows before the installers leave?
Yes. Operate each accessible window, test the locks, inspect the screens and finishes, and ask questions about cleaning, care, warranty coverage, and service.
How much do replacement windows cost?
Cost depends on the number, size, style, glass package, colors, grids, custom details, access, and installation needs. Joyce’s Window Cost Calculator provides a ballpark range, while an in-home consultation provides exact pricing.
Final Takeaway
Replacement window installation should feel organized and understandable.
A typical project includes:
- Consultation and product selection
- Accurate measurements
- Custom manufacturing
- Installation scheduling
- Home preparation
- Old-window removal
- Opening inspection
- New-window installation
- Insulation and sealing
- Interior and exterior finishing
- Cleanup
- A final walkthrough
Your role is to prepare the work areas, communicate access or safety concerns, review the written scope, and inspect the windows before the project is closed.
The installer’s role is to protect the work area, remove the old windows carefully, prepare the openings, install and seal the new units, clean the project areas, and explain how the windows operate.
Ready to start planning? Get an instant window cost estimate or book a Joyce design consultation for custom recommendations and exact pricing.

Topics: